 AJS Furniture
AJS Furniture
AJS Furniture
When it comes to tackling the challenge of uneven walls, expert contractor Michael Thompson emphasizes the importance of preparation. He advises, "Understanding your surface is key to a successful installation." This insight highlights the need to assess the wall conditions before starting to install wall panels over uneven surfaces.
Installing wall panels efficiently requires more than just skill. It involves a keen eye for detail and an understanding of the materials you are using. Uneven surfaces can complicate the process, making it crucial to use techniques that adapt to variations. A well-laid plan can save time and money, while also ensuring a professional finish.
While many may rush into installation, taking the time to measure and strategize can make all the difference. If not done correctly, the final outcome may lead to visible imperfections. A careful approach not only enhances aesthetics but also assures durability. Learning how to install wall panels over uneven surfaces demands patience and a willingness to confront obstacles head-on.
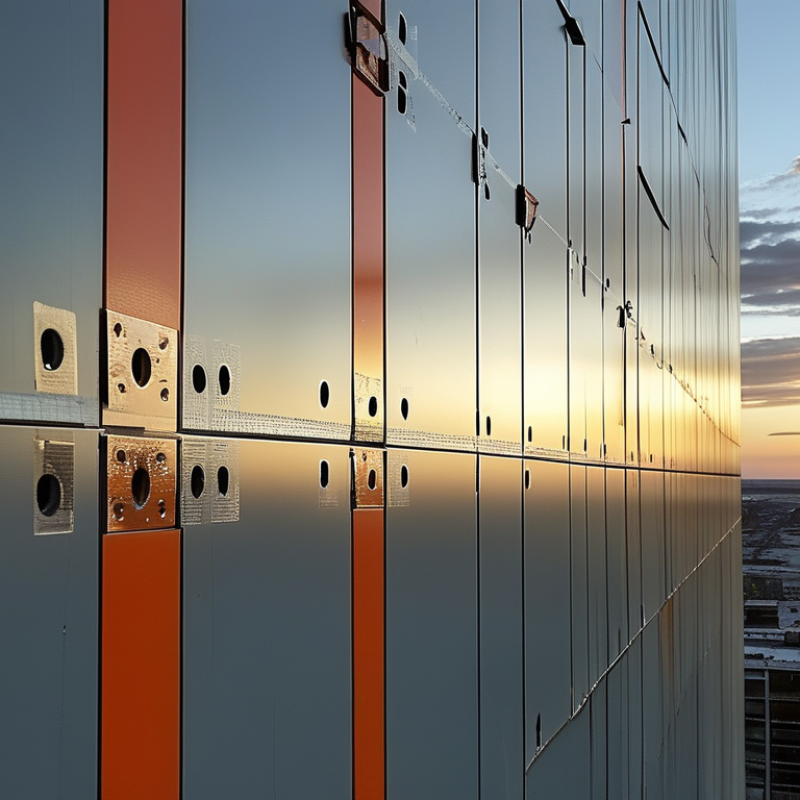
Installing wall panels on uneven surfaces can be challenging. Uneven walls create gaps, leading to difficulties in achieving a flawless look. It can result in time-consuming adjustments and potential waste of materials. Understanding these challenges is the first step to overcoming them.
Tips: Measure your walls carefully. Use a level to identify dips and protrusions. Mark these areas for adjustment. This step is crucial in ensuring your panels fit properly. A thorough inspection before installation can save you time later.
When dealing with irregularities, consider using shims. Shimming can help level out some areas. This method allows for a snug fit of the wall panels. It also helps in maintaining the aesthetics of your installation. Remember, it’s okay to have a few imperfections. Reflect on each step as it enhances your learning experience.
Moreover, ensure you have the right tools on hand. A saw, level, and quality adhesive are must-haves. Having the right equipment can make the process smoother. Don’t rush the installation. Take the time to adjust as needed. Each wall presents unique challenges, and patience is key.
| Challenge | Solution | Tools Needed | Estimated Time |
|---|---|---|---|
| Surface irregularities | Use a leveling compound to create a smooth base | Leveling compound, trowel, and float | 2 - 4 hours |
| Alignment issues | Use a laser level for precise alignment during installation | Laser level, chalk line, and measuring tape | 1 hour |
| Adhesion on uneven surfaces | Use construction adhesive in combination with mechanical fasteners | Construction adhesive, screws/nails, and drill | 3 - 5 hours |
| Finishing touches | Install corner trims and caulk gaps | Corner trims, caulk, and caulking gun | 1 - 2 hours |
: Start by assessing the wall with a level. Identify high and low spots.
Use shims to fill gaps. They help create a level base for panels.
Consider using a leveling compound. It helps create a smoother base.
Periodic checks help identify misalignment. Small adjustments can improve the final look.
Don’t skip leveling the wall. This can lead to visible gaps and awkward seams.
Apply consistent pressure while adhering panels. Watch for air pockets or gaps.
Yes, overlooking spacers can result in misalignment and poorly placed panels.
Using the wrong adhesive can lead to adhesion failures and reduce durability.
Achieving perfection is challenging. Aim for the best result while accepting minor imperfections.
Patience is crucial. Taking your time ensures better adjustments and a successful finish.
Installing wall panels over uneven surfaces can be challenging but is achievable with the right techniques. The first step involves understanding the specific challenges posed by uneven walls, such as proper leveling and the selection of suitable tools and materials. A successful installation begins with a detailed step-by-step guide for leveling the walls, ensuring that the surface is as flat as possible before proceeding with paneling.
Once the walls are prepared, various techniques can be employed to apply the panels effectively, accommodating any irregularities in the wall’s structure. Additionally, it's crucial to be aware of common mistakes that may arise during the installation process, which can lead to unsatisfactory results. By following this comprehensive approach, anyone can learn how to install wall panels over uneven surfaces efficiently and achieve a polished finish in their space.
